Installing Jekyll
This article is part of a series of posts about Jekyll from my lynda.com course Jekyll for Web Designers. For a complete list of articles in this series check out the archives.
Getting started with Jekyll is relatively simple, although perhaps not quite as simple as their documentation would have you believe. There are a number of dependencies and requirements you have to satisfy before installing and using Jekyll. Let’s explore those dependencies and talk about the process of getting started with Jekyll.
First, let’s cover what you’ll need to have installed before you can run Jekyll. As Jekyll is a Ruby app it helps if you’re on a Unix, Linux, or OS X system. According to Jekyll you can get Jekyll to run on Windows, it just requires some work. I’ve never tried it, but you can read more about the process here if you’re interested.
You’ll also need the latest versions of Ruby and Ruby Gems. One of the easiest ways to ensure you’re using the right version of Ruby is to use RVM, a Ruby version manager. It can be a bit of a pain to setup, but once installed making sure you have the latest version is as easy as typing the following into Terminal (where ‘2.2.3’ is the latest version number):
$ rvm install 2.2.3If you’re on a Mac you’ll also need Xcode Command Line Tools. This can be a little tricky depending upon which version of OSX you’re using. If you’re using any version after Mavericks just type the following in Terminal:
$ gccGCC is a compiler command, and requires Command Line Tools to work, so if they’re not installed OSX will prompt you to install it. For Mavericks or earlier you’ll need to manually download Xcode from Apple and select the “Install Command Line Tools” option when installing it.
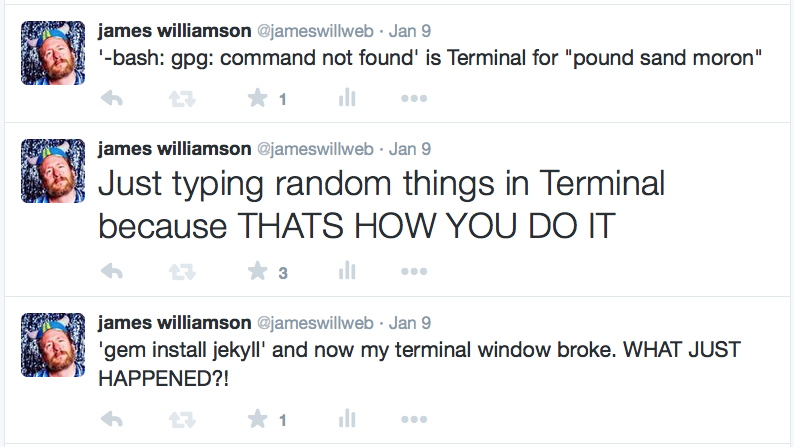
By now you’ve probably noticed that you’ll be spending a good bit of time in Terminal or in the command line when installing and using Jekyll. If you’re already comfortable with Terminal that shouldn’t really be a problem for you. Some of you, however, are probably pretty nervous at the thought of having to spend that much time in the command line. I totally understand if you fit into that category, I’m not that comfortable myself. The first time I tried to install Jekyll I had a terrible time getting my dependencies set up. In the end it had more to do with the version of OSX I was using, but it was a longer process than I was prepared for. Here’s my Twitter stream during that time:
Just be prepared to spend some time getting everything set up, and don’t get discouraged if what you’re doing doesn’t work right away. Spend some time researching any error messages that shows up and you’ll be fine.
Once all your dependencies are installed you’re ready to install Jekyll. For the most part it’s very straightforward, all you’ll need to do is type the following at the command line prompt:
$ gem install jekyll If you run into permission issues, add ‘sudo’ before gem and that should do the trick. If you’re planning on using Github Pages to deploy and host your site, you might want to ensure you’re using the same version of Jekyll and Liquid as Github Pages. You can check those version numbers on the Github Pages Gem repository. To do version specific installs you’d do the following:
$ gem update --system
$ gem install liquid -v 2.6.2
$ gem install jekyll -v 2.4.0
Those version numbers are correct as of August of 2015, but be sure to check prior to doing your own install. Once you’ve got Jekyll installed you’re ready to start using it! We’ll take a look at basic Jekyll functionality in our next post!
Read more: